Showing posts with label Stenciled signs. Show all posts

Thursday, March 6, 2025

Maine Signs


I like to have a variety of things to sell at my craft shows, and have found that stenciled signs, especially anything with Maine on them like these, are great sellers.


I usually use wood scraps I find in our workshop, but I came across these pallet planks at Walmart that work perfectly.

I prefer the whitewashed pallet plank,


but have made a few signs using the darker Barnwood Pallet Plank.


The LOVE sign is a single, horizontal stencil, which made it quick and easy to do.


But I couldn't stop at that and combined a square stencil with the LOVE stencil to make the HOME sign.

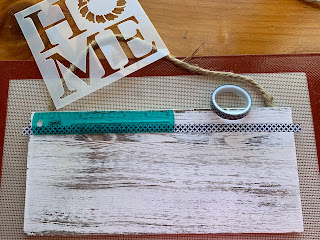
Notice the silicone mat under the plank. I use that for a lot of projects I don't want to slip or move when I'm working on them.

I usually use painter's tape to keep the edges of the stencil secure while I work. But of course I couldn't find it, so I dug into my desk and found sticky notes! 

I have several other stencils I want to make signs with, so check back often!


Sunday, November 25, 2018

Bethel Ware Fair a success!

I thought this craft fair would be a good venue for me, but I never expected to almost sell out!  By the end of the day I only had four gnomes and 6 Maine signs left!


Friday, November 16, 2018

Laundry Sign

I've been looking all over for a vertical laundry sign to put between the windows in my laundry room.  Finally I realized I could easily make my own stencil using my Stampin' Up! alphabet framelits dies and make my own sign.

 First I found a piece of scrap wood just the right size and painted it a flat black.
While the paint was drying, I used my Big Shot and cut out
 L A U N D R Y from a piece of heavy cardstock.

Stampin' Up! makes awesome products that can be used for much more than papercrafts.


 After the paint completely dried I placed the stencil on the painted board and using white paint, I stenciled it.
 I like to antique my painted signs a little, so using a fine sandpaper, I sanded off some of the paint on the edges and corners to make it look a bit older.  After that I sealed the sign with a spray sealer.


And this is how the finished project looks.  Perfect!